Fullscript Journeys pairs lab testing with a provider-reviewed interpretation and wellness plan. Your Journeys storefront is a shareable page where patients can browse and purchase the journeys you choose to offer. You can add journeys, customize how they appear, organize them into sections, and share your storefront or individual journey links.
This article is for providers with access to My storefront > Journeys. If you don't see Journeys, learn more about sending a lab test recommendation.
Patients must be 18 or older to purchase journeys from your storefront. Storefront availability varies by state, and lab testing isn’t available in Canada.
Manage your Journeys storefront
Go to My storefront > Journeys to choose which journeys patients can purchase and manage how they appear on your storefront. Unlike lab tests added from My storefront > Labs, journeys include a drafted interpretation and wellness plan.
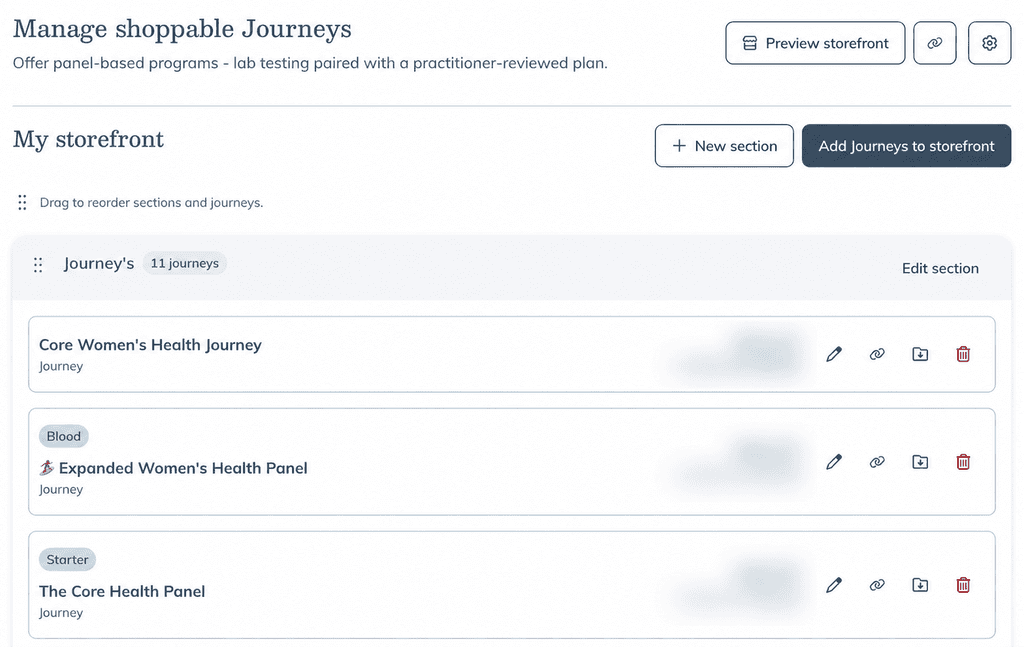
Select the gear icon to access additional Journeys settings, including patient notifications, invitations, the Journeys marketing toolkit, storefront branding, and payout settings.
Add journeys to your storefront
To add a journey:
- From My storefront > Journeys, select Add Journeys to storefront.
- Search or use the available filters to find a panel or template.
- Find the journey you want to offer and select + Publish to storefront next to it.
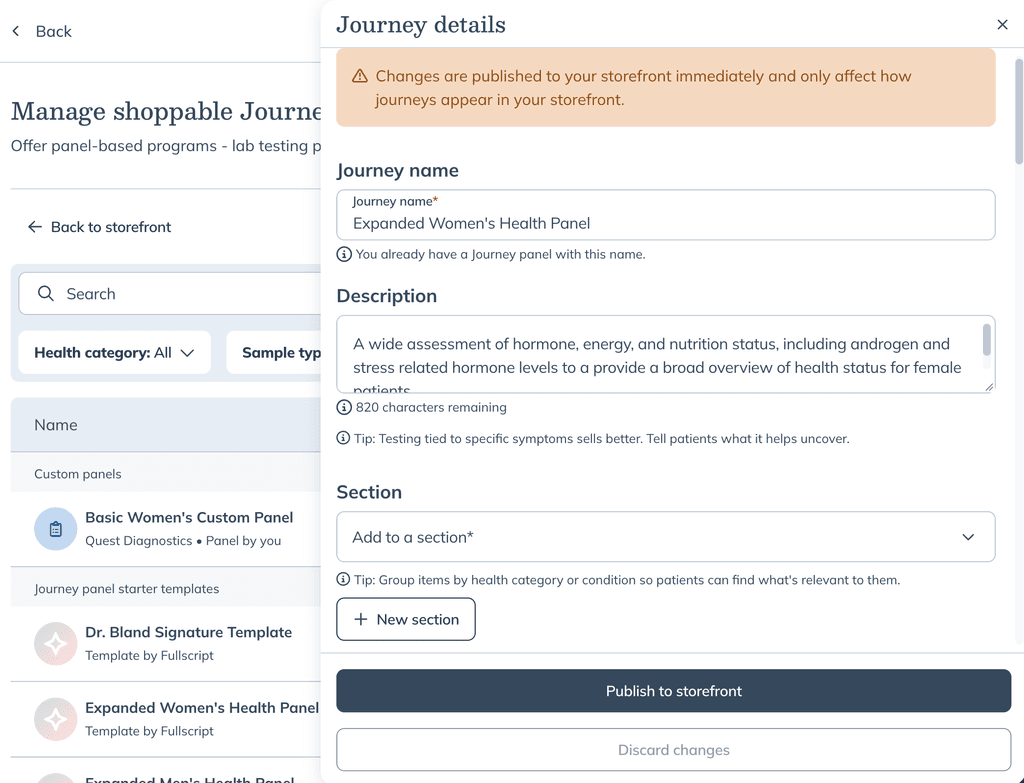
- The Journey details drawer opens. Review and customize the journey details.
- Select Publish to storefront at the bottom of the Journey details drawer.
To create your own panel, go to Labs > Catalog. Custom panels you create there appear as options when you select Add Journeys to storefront.
Journeys already available on your storefront are marked Published.
-1024x718.png&w=2048&q=75&dpl=17467a18)
Customize a journey
The Journey details drawer lets you customize how a journey appears on your storefront. You can also open the drawer for a published journey by selecting its edit icon.
From the drawer, you can:
- Update the Journey name and Description.
- Choose a Section or create a new one.
- Add an optional Label.
- Review the Custom fee & patient price.
- Review the Tests included or add additional tests.
Changes to journeys already on your storefront are published immediately.
Set custom fees
Custom fees are optional. If you’ve set a default Journeys interpretation fee, that flat dollar amount is prefilled when you add a journey to your storefront. You can adjust or remove it for an individual journey.
To update your default fee, select the settings icon from My storefront > Journeys, then select Payout settings.
For custom fees on lab recommendations, see Setting up a labs custom fee.
Organize your journeys
Use sections to group journeys and control how they appear on your storefront.
From My storefront > Journeys, you can:
- Select New section to create a section.
- Drag sections or journeys to change their order.
- Select Edit section to update or delete a section.
- Use the icons beside a journey to edit it, share it, move it to another section, or remove it from your storefront.
Journeys on your storefront can be purchased by any eligible patient with your storefront link. If you only want to send a journey to specific patients, remove it from My storefront > Journeys. You can still send it as part of a plan.
Share your storefront
From My storefront > Journeys, you can:
- Select Preview storefront to see how your storefront appears to patients.
- Select the link icon beside Preview storefront to copy your storefront URL.
- Select the link icon beside a journey to share that specific journey.
Patients can browse available journeys and review journey details before purchasing.
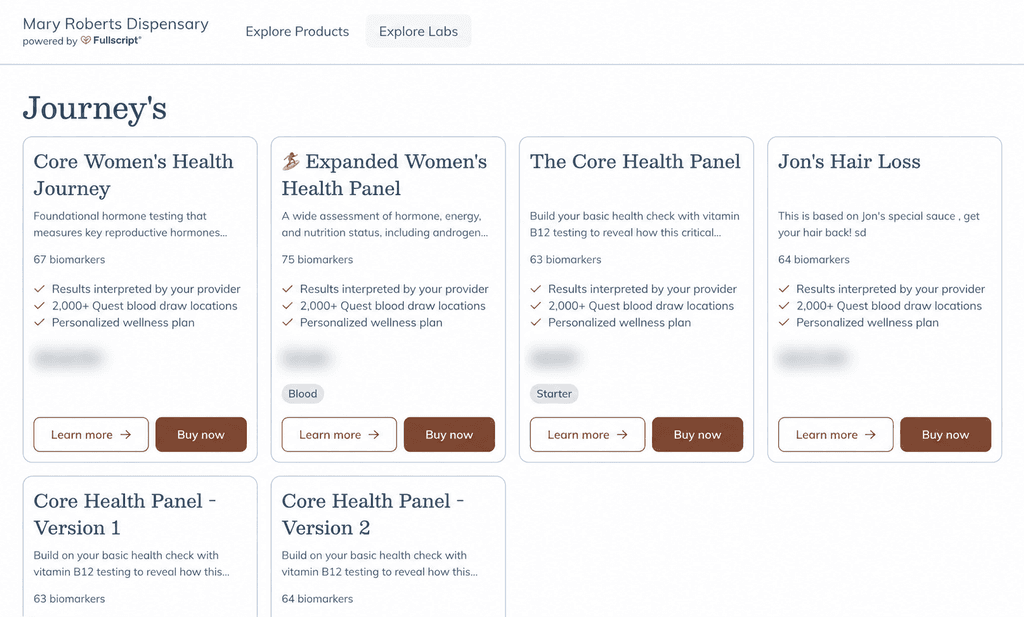
For more information about the patient experience, see Starting and completing a Fullscript Journey.
Send a journey to a patient
You can also send a journey directly to a patient while building a plan.
To send a journey:
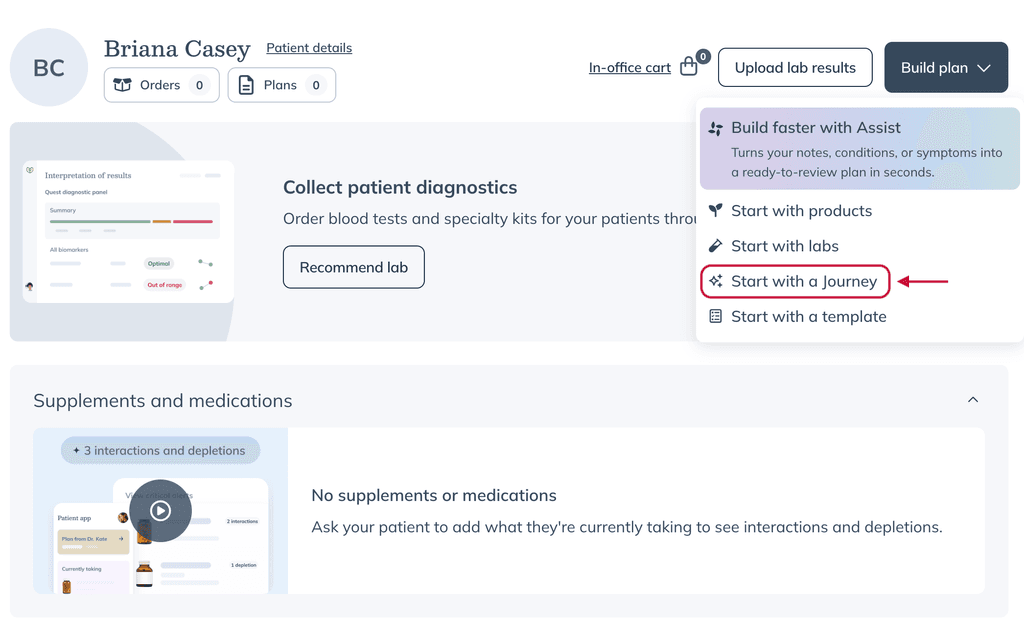
- Open the patient's profile and select Build plan.
- Select Start with a Journey.
- Under Labs, select Add Journey to plan and choose a journey.
- Add other products or resources as needed.
- Select Send to patient.
After the patient completes their intake and lab testing, you can review their results and the drafted interpretation and plan before sharing them with the patient.
Learn more about the plan building tool.
Track journey orders
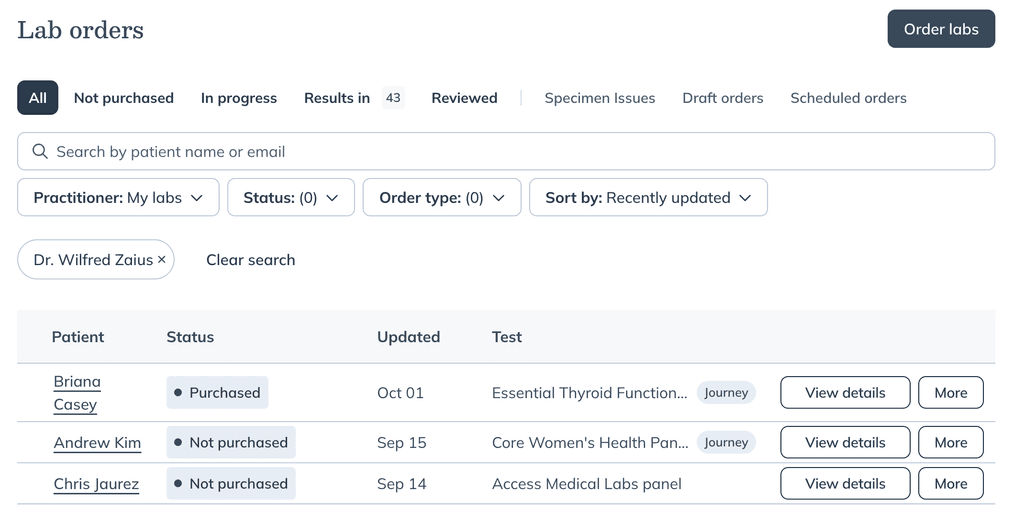
Journey orders appear with your other lab orders under Labs > Orders. Look for the Journey tag to identify and track them.