Last modified: August 1, 2025
Embeddable product cards
Providers
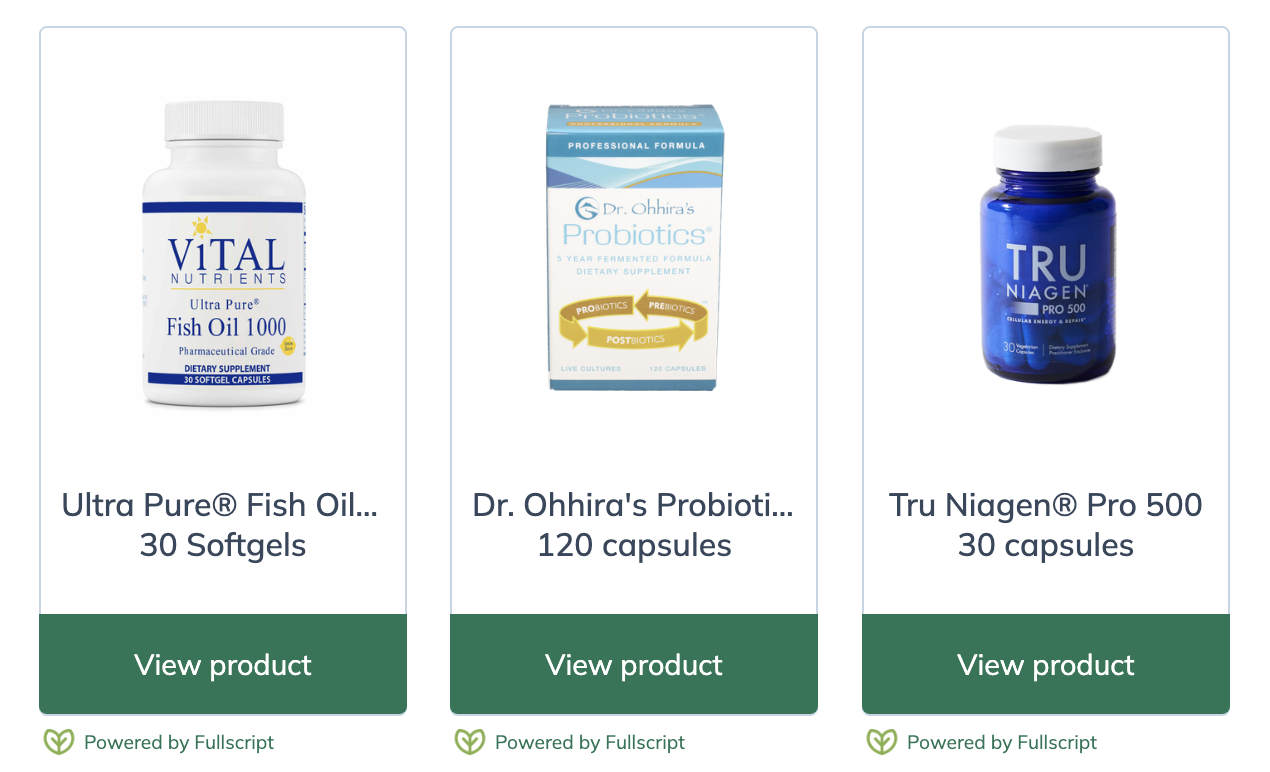
Display products on your website with embeddable product cards! When product cards are selected, patients are taken directly to products in Fullscript, where they can learn more and place an order.
Leverage this powerful tool to:
- Increase the reach of your practice from one to many
- Make it easier for patients to view the products you like
- Show innovation in the industry
- Enhance your online presence and position yourself as an expert in your community
Adding embeddable product cards to your website
To embed products on your website:
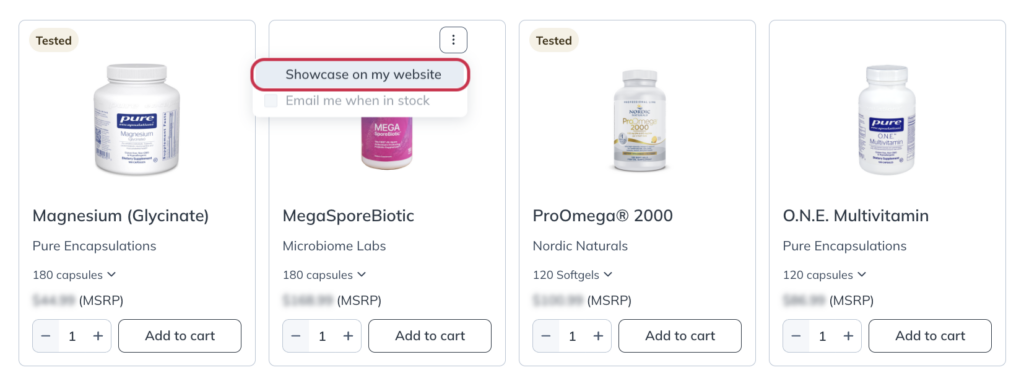
- In the catalog, search for products.
- Select the more options icon ( ).
- Click Showcase on my website. This option is also accessible from the product display page where product information (i.e., ingredients, dosage, directions, etc.) is displayed.
- Copy the code to your clipboard.
- From your website or blog, go to the page where you’d like to add a product card and open the code editor.
- Paste the code and preview your changes before publishing.
HTML resources
Not familiar with coding? Not to worry, here are some tips!
- Use the support resources from your website builder’s help center (i.e., (Wix, WordPress, Squarespace, etc.)
- Try reaching out to your website builder’s support team!
- Consider reaching out to a web development expert for assistance.
Tips for Squarespace
Squarespace uses code blocks to add custom code to a page, blog post, sidebar, footer, and other content areas. However, embeddable product cards require JavaScript, which is only supported in code blocks on Squarespace business plans and higher.
To add a Code Block to an existing page and embed a Fullscript website button:
- From your website’s homepage, click on Pages, then select the page where you want your website button to be placed.
- Select Edit from the top left-hand corner of the page.
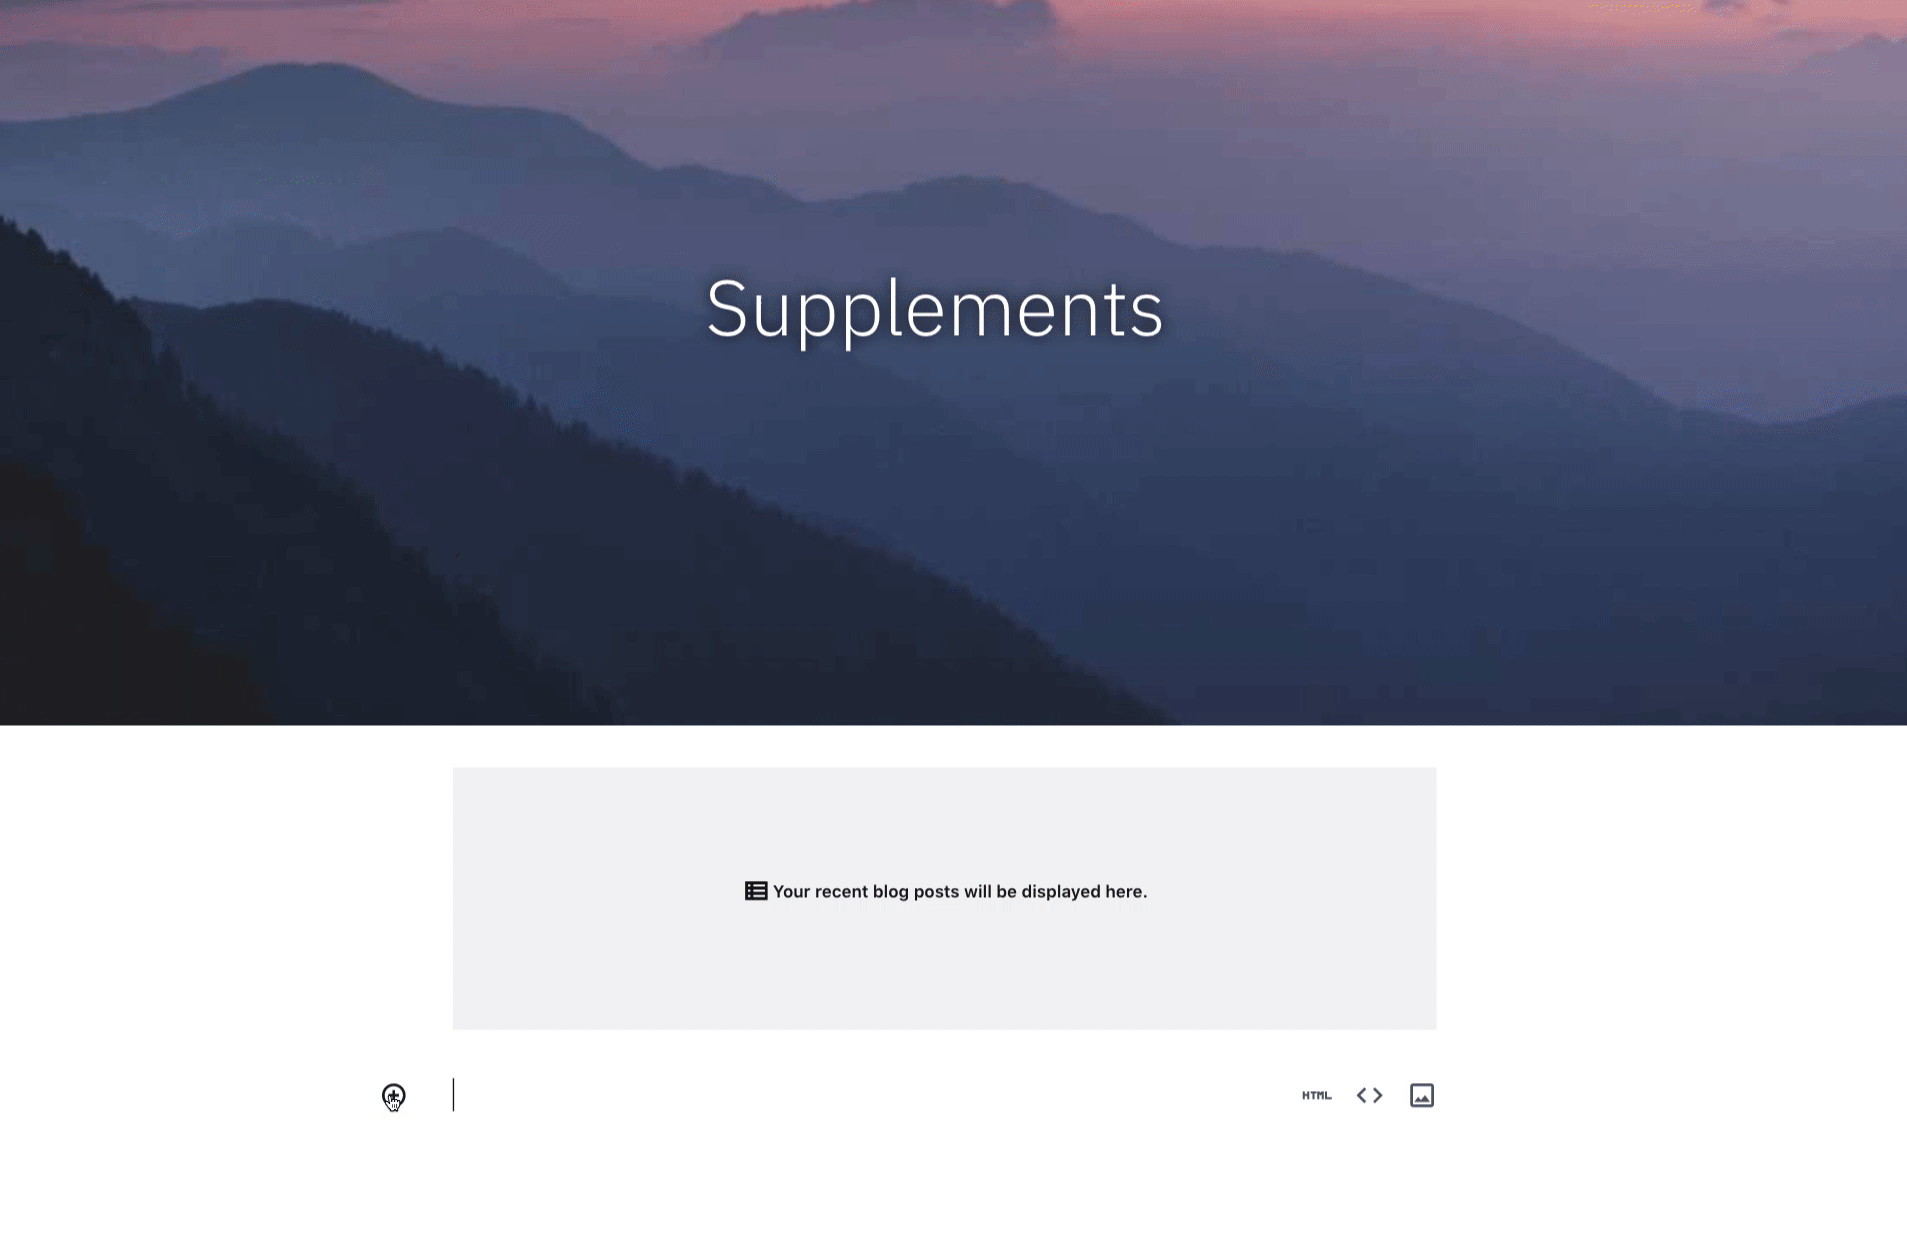
- Now, add a new section or hover over an existing section you would like to add the website button.
- Click + Add block button to open the block menu.
- Select Code.
- Under Mode, select HTML from the drop-down menu.
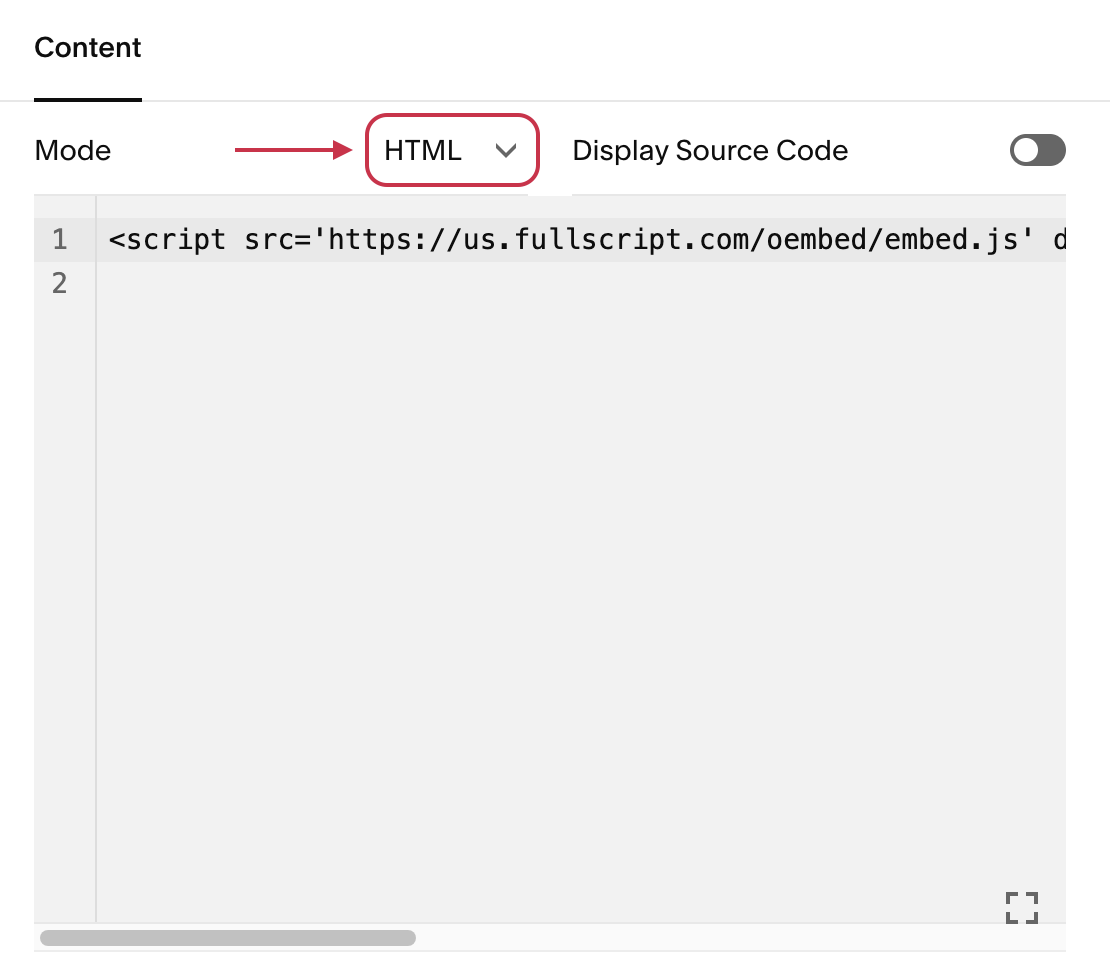
- Paste the product’s embed code from Fullscript into the code window.
- Preview your changes, and publish when ready.
Tips for WordPress
WordPress offers multiple ways of editing HTML for a page or post. In this walkthrough, we’ll be focusing on how to use their latest editor.
Almost all blocks on pages in WordPress have the option to edit as HTML. To edit a page block:
- In WordPress, navigate to Pages within the site drop-down on the left-hand side of your screen.
- Next, select the page where you’d like the product card displayed.
- Add a new block.
- Select Custom HTML.
- Paste the product’s embeddable code in the code box.
- Select Preview to view your changes, and publish when ready!
Tips for Wix
Wix offers an easy solution to uploading HTML content. This feature allows you to display product cards anywhere on your website.
To add content to your Wix site:
- In the Wix Editor of your website, click Add elements.
- Select Embed Code.
- Click Embed HTML.
- Type <allow-script> in the Add your code here box.
- Paste the code copied from Fullscript.

- Hit Apply.
- At the bottom, give your embed a name.
- When finished, click Publish in the upper-right-hand corner.